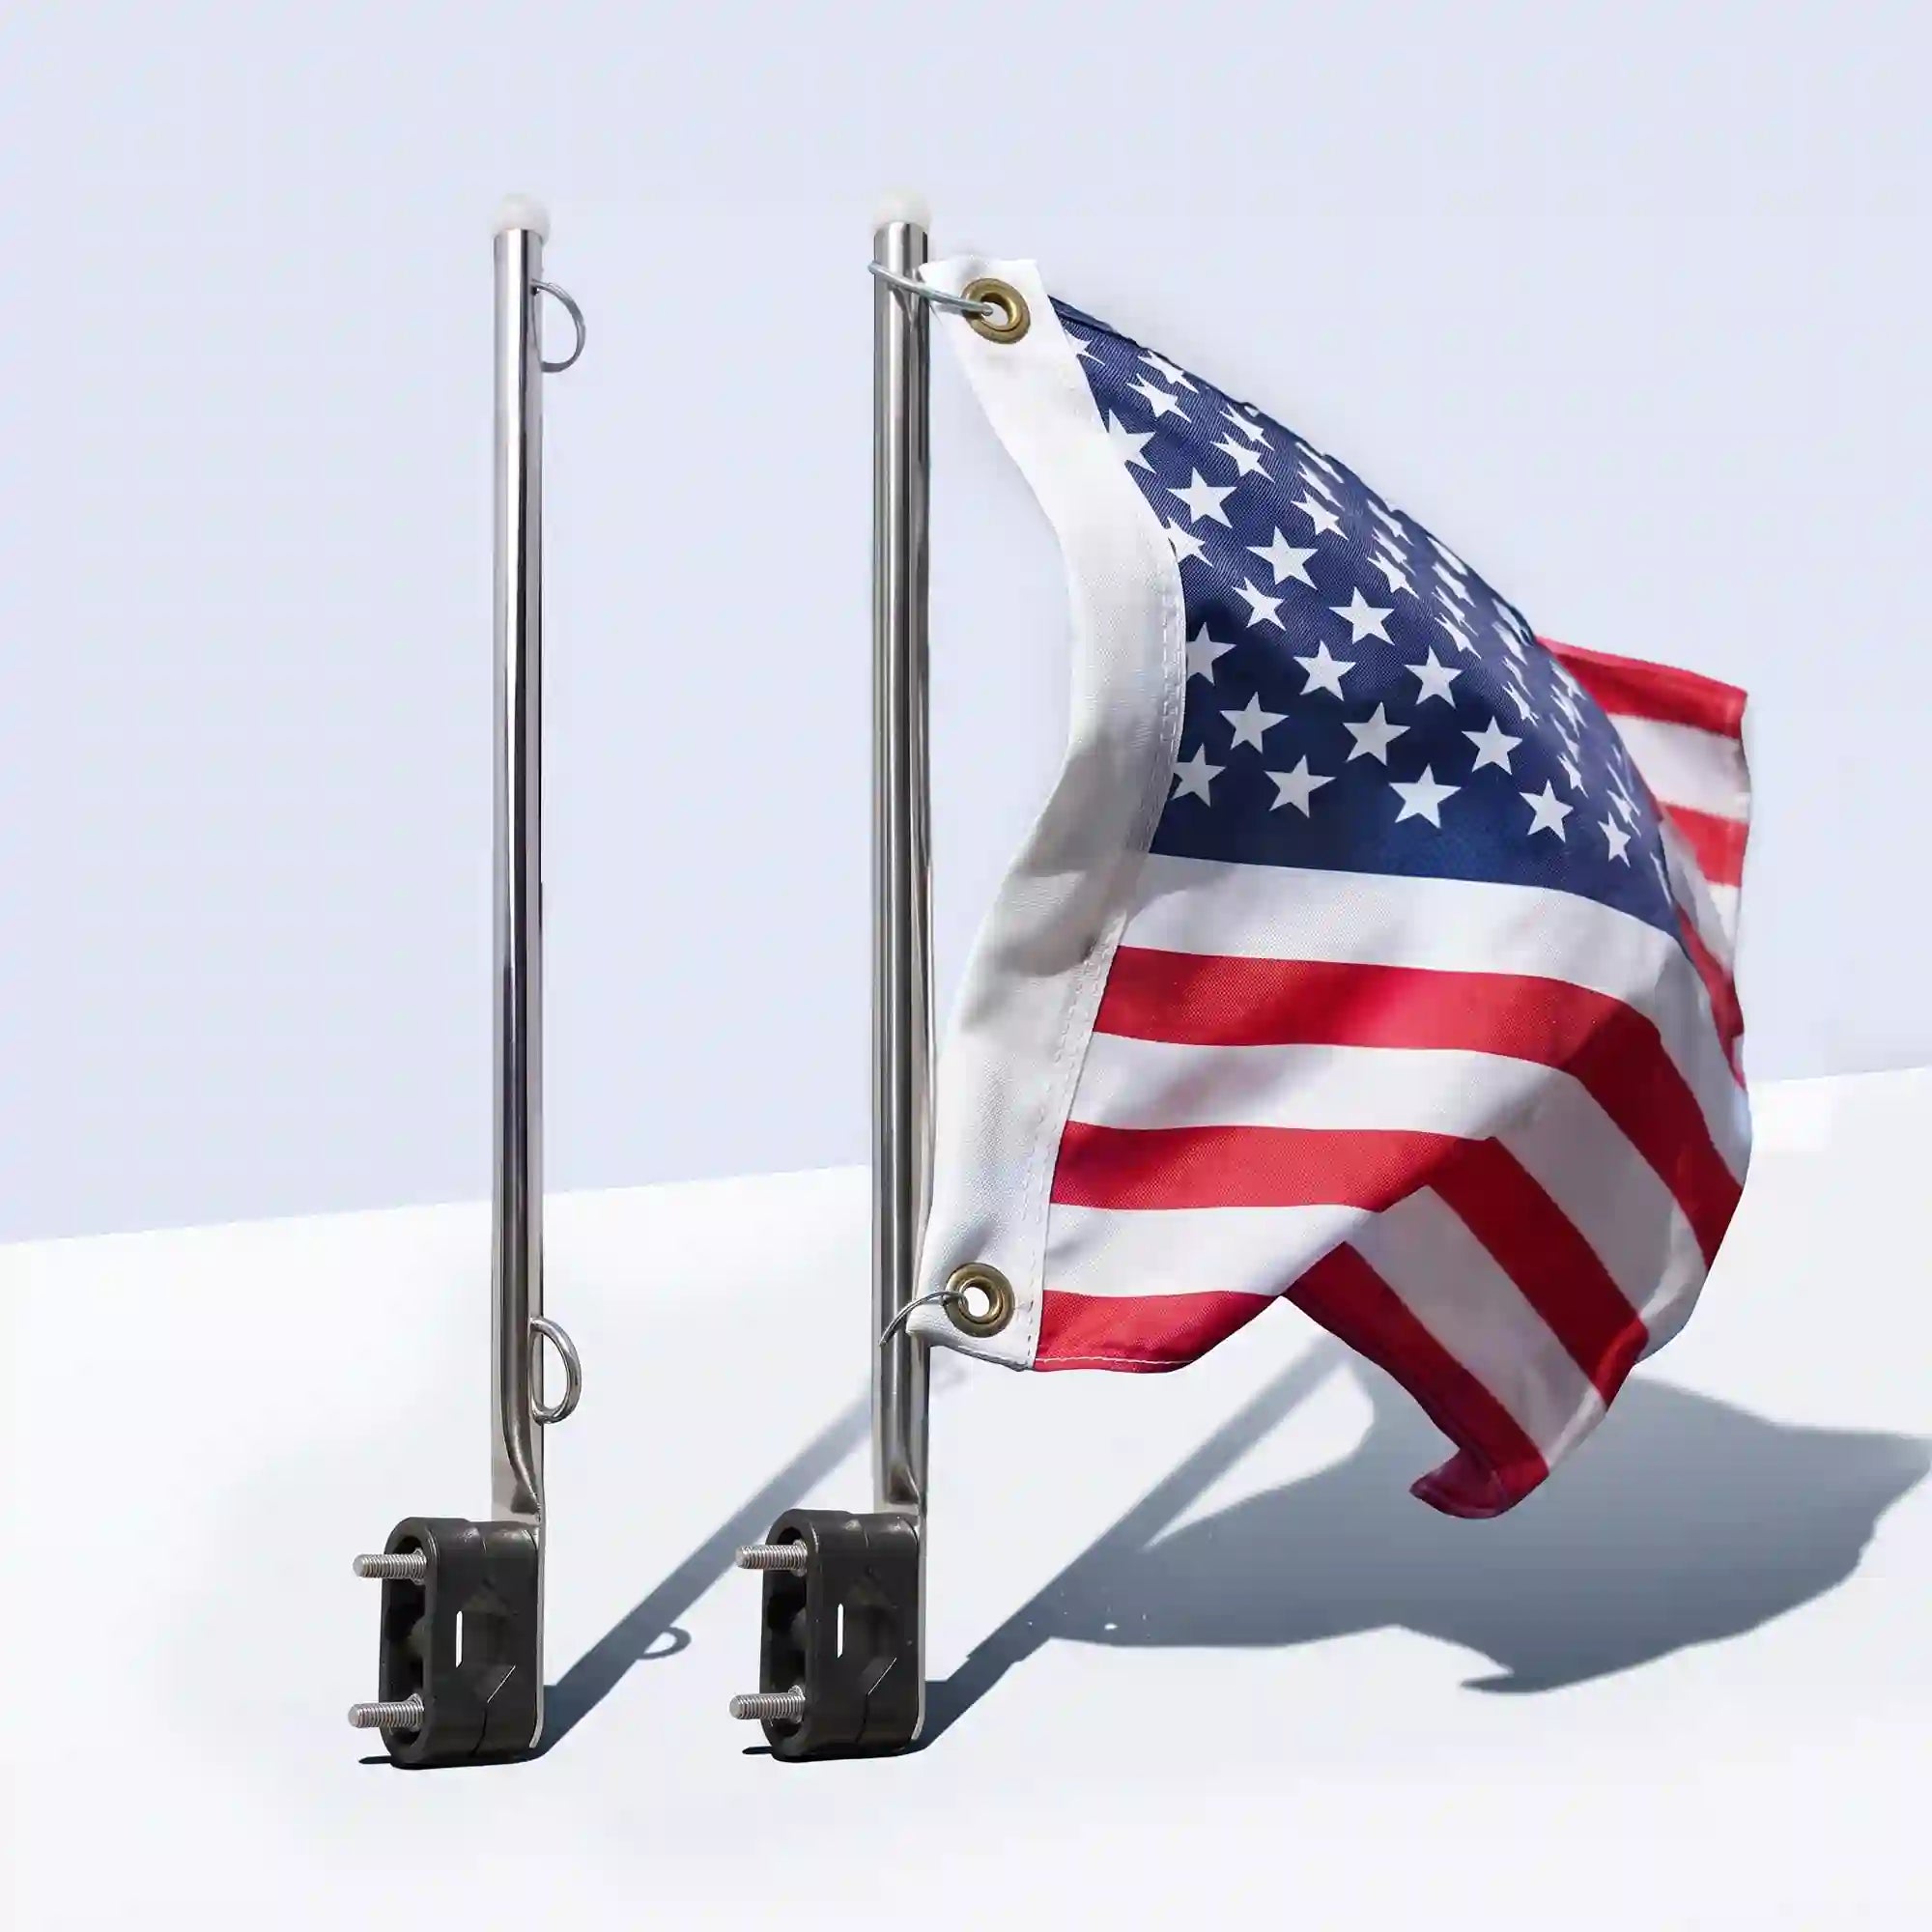
Choose a boat accessory mounting method by answering three questions: what surface is available, whether you want the upgrade to be removable, and how much space exists behind the mounting area. Clamp-on mounting is the most reversible. Surface mounting uses a flat face and product-specific fasteners. Recessed mounting requires a verified cutout, hidden depth, and drainage path.
Quick Comparison: Clamp-On vs Surface-Mount vs Recessed
| Mounting method | Best for | Main advantage | Check before buying |
|---|---|---|---|
| Clamp-on | Round rails and removable accessories | No hull or deck hole in many installations | Rail diameter, clamp range and movement clearance |
| Surface-mount | Handles, bases, brackets and deck hardware | Broad product choice and direct access | Mounting face, backside access and support condition |
| Recessed | Flush rod holders, cup holders and low-profile fittings | Clean appearance with fewer exposed edges | Cutout size, depth, drainage and hidden obstructions |
Use the Boat Accessory Measurement Worksheet to record rail size, mounting-face dimensions, cutout size, hidden depth, and movement clearance before ordering.
Start With the Accessory's Job
Do not choose a mounting style from appearance alone. First decide whether the accessory is for storage, positioning, body support, or active fishing. Then confirm that the product is intended for that job and that its stated mounting range matches the measured location.
- Storage: prioritize fit, drainage, and convenient access.
- Positioning: prioritize adjustability and movement clearance.
- Body support: use only a product intended for that purpose and stop if the mounting area is uncertain.
- Active fishing: confirm the holder and mounting method are intended for the way the rod will be used.
When Does Clamp-On Mounting Make Sense?
Clamp-on hardware is useful when the boat already has a compatible rail and the owner wants to avoid permanent holes. It works well for accessories that may be moved as seating layouts, fishing positions or storage needs change.
Measure the rail, do not estimate it
Measure the outside diameter at the actual mounting point. A nominal rail description is not enough if tubing, coating or fittings change the usable size. Confirm whether the clamp is designed for a round rail and whether its stated range includes the measured diameter.

Check rotation and tool clearance
A clamp can fit the rail but still fail in practice if the accessory rotates into a seat, windshield or walkway. Dry-fit the assembly and confirm that a wrench or driver can reach every fastener.
Understand the limitation
Clamp-on does not automatically mean temporary or tool-free. Some adjustable products require loosening fasteners before the angle can change. Fasteners should be inspected after initial use and as part of routine maintenance, especially where vibration is present.
When Is Surface Mounting the Better Choice?
Surface-mounted accessories attach to a visible face such as a deck, console, gunwale or bulkhead. The method is common because the accessory can remain compact while the hardware transfers force into the mounting surface.
Inspect both sides of the installation
Before drilling, identify the complete fastener path. Check for wiring, hoses, tanks, steering components, core material and inaccessible cavities. A clean-looking top surface does not prove that the area underneath is safe or strong enough.
Follow the Product-Specific Fastening Instructions
Through-bolts and backing support may be appropriate when the back is accessible and the load requires distribution. Screws may be appropriate only where the product instructions and substrate support that method. Do not copy a generic fastener size from another boat.
Plan for sealing and service
Any penetration exposed to water needs a sealing approach compatible with the hardware, substrate and future service needs. Permanent adhesive is not automatically better. Follow the accessory, boat and sealant manufacturers' instructions.
When Should You Consider Recessed Mounting?
Recessed hardware sits partly below the visible surface. It can reduce protrusions and create a finished look, but the hidden body of the product needs room below the cutout.
Measure more than the flange
Record the cutout diameter or shape, total body depth, flange dimensions and the direction of any drain or connection. Also check the space needed to insert the product at an angle during installation.
Confirm drainage
A recessed cup holder or rod holder may collect water. Determine whether the model includes a drain, where the drain will discharge and whether a hose can be routed without kinking or interfering with other systems.
Check the Opening and Hidden Space
If the recessed product needs a larger opening than the boat already has, or if the hidden area cannot be inspected, stop and ask the boat manufacturer or a qualified marine installer before cutting.
Five Measurements to Record Before Ordering
- Rail outside diameter for clamp-on products.
- Available mounting face width and height.
- Backside access and clear depth.
- Accessory movement envelope when deployed or adjusted.
- Fastener and tool access around the final location.
Common Mounting Method Mistakes
- Choosing a method because it looks cleaner without checking the mounting area and hidden space.
- Assuming every one-inch rail has the same usable diameter.
- Drilling before checking the full path behind the surface.
- Ignoring drainage below a recessed fitting.
- Using an adjustable accessory where there is no room to adjust it.
- Using storage hardware for body support or another job it was not designed to perform.
A Practical Decision Process
- Define the accessory's job and how it will be used.
- Identify every possible mounting location.
- Measure the rail, surface and hidden space.
- Eliminate methods that require access you do not have.
- Dry-fit the accessory and check movement.
- Confirm the product-specific installation instructions.
- Use a qualified installer if the mounting surface or hidden area cannot be verified.
Frequently Asked Questions
Is clamp-on mounting always better because it avoids drilling?
No. It is useful only when the rail size, shape and position are compatible and the clamp can resist the expected movement.
Can I Surface-Mount an Accessory Without Access Underneath?
It depends on the product instructions and the mounting area. Do not assume one fastening method works on every boat. If the required access or hidden space cannot be confirmed, ask the boat manufacturer or a qualified installer.
Is recessed mounting waterproof?
Not automatically. The flange, cut edge, body and drainage route all require attention. A flush appearance does not guarantee a watertight installation.
Which method is easiest to replace later?
Clamp-on hardware is usually easiest to relocate. Surface-mounted hardware can be serviceable when hole patterns remain compatible. Recessed replacements require the closest match in cutout and depth.
After choosing a mounting method, compare only products whose stated fit range matches the measured setup. The guide What Does Universal Fit Really Mean for Boat Accessories? explains the remaining compatibility checks.
Final Checklist
- I know the accessory's intended job.
- I measured the exact mounting location.
- I checked the surface above and below.
- I confirmed movement and tool clearance.
- I understand drainage and sealing needs.
- I will follow the model-specific instructions.
Once the mounting conditions are clear, compare Marinexplore accessories by mounting method and verified fit instead of choosing by appearance alone.